Unleashing the Magic of Chocolate Candy Cane Bark
Welcome to the world of Chocolate Candy Cane Bark, a festive treat that transforms simple ingredients into a delightful holiday indulgence. This recipe not only satisfies your sweet tooth but also invites you into the fascinating realm of food science. By understanding the chemistry behind chocolate and its interactions with flavors like peppermint, you can elevate your culinary creations. Let’s dive into the science of this classic treat, ensuring you master the art of making Chocolate Candy Cane Bark this holiday season.
Why You’ll Love This Recipe
- Quick and Easy: This recipe requires minimal time and effort, making it perfect for busy holiday schedules.
- Customizable Flavors: You can easily modify the ingredients to suit your taste, whether you love dark chocolate or prefer a sweeter white chocolate.
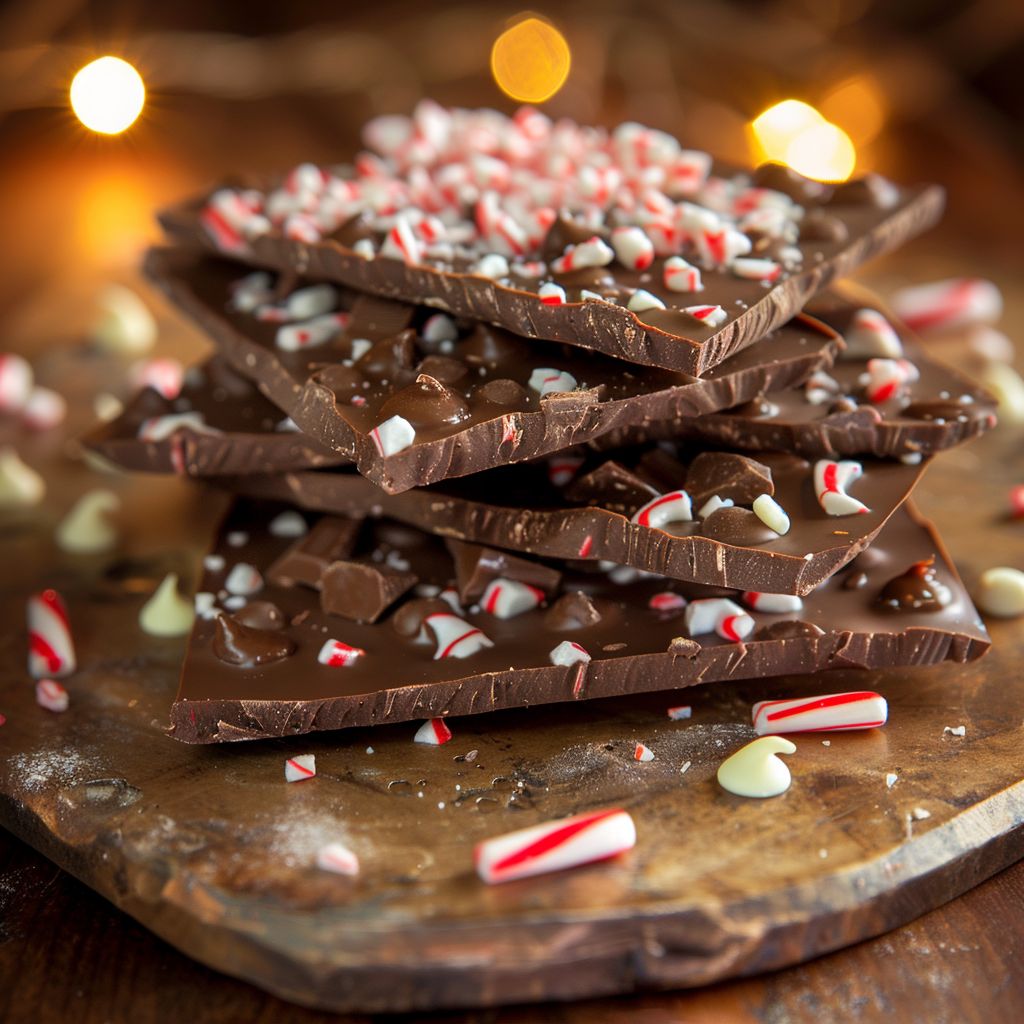
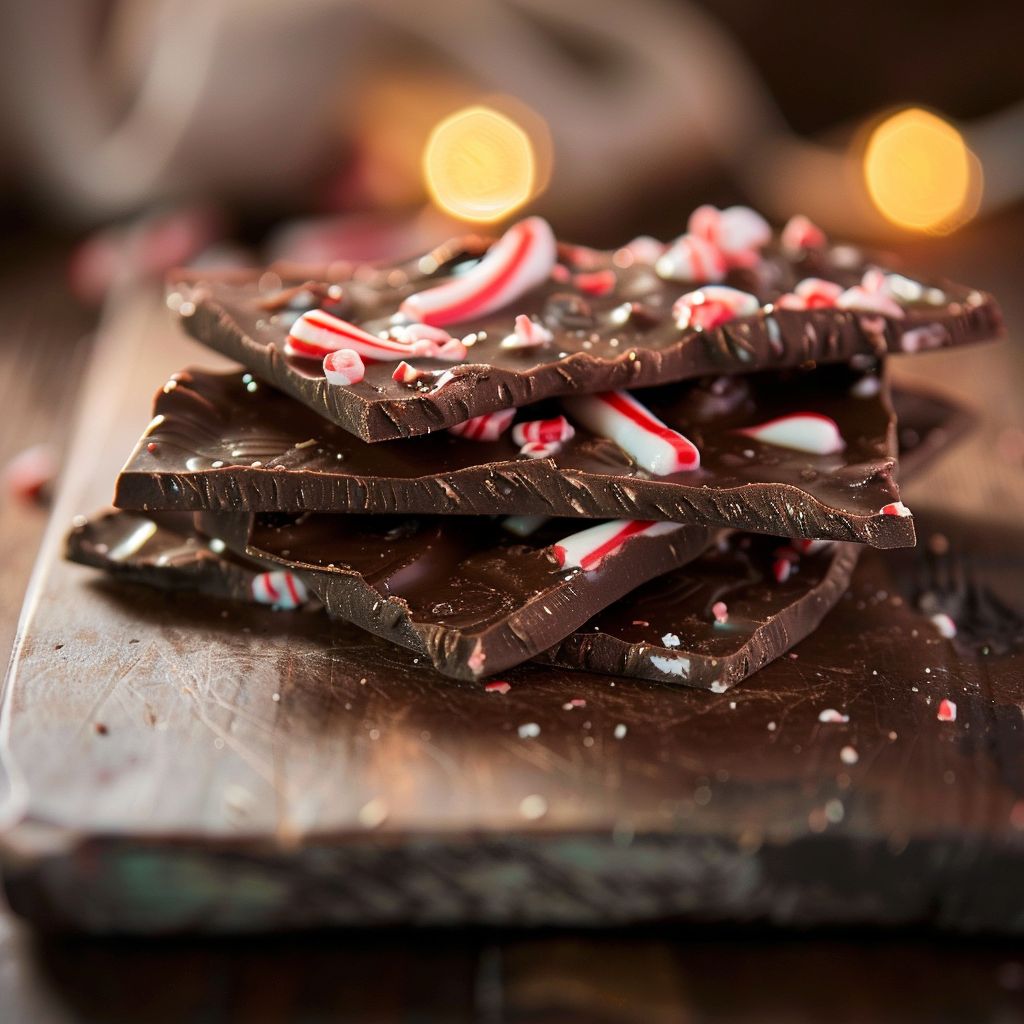
- Delightful Presentation: The vibrant colors of red candy cane pieces against rich chocolate create a visually stunning treat that’s perfect for gifting.
- Fun for All Ages: Involve the kids in the process! Melting chocolate and sprinkling toppings is a fun activity that they will love.
- Perfect for Sharing: Once made, this bark can be broken into pieces, making it an easy and delightful treat to share during festive gatherings.
Ingredients and Substitutions
To create the best Chocolate Candy Cane Bark, gather the following ingredients:
- 12 oz dark chocolate chips: For a rich, intense flavor. You can substitute with semi-sweet or milk chocolate chips if you prefer a sweeter profile.
- 1 cup crushed candy canes: These add a refreshing peppermint flavor. Alternatives include crushed peppermint candies or even crushed nuts for a different texture.
- 4 oz white chocolate chips: These are used for drizzling and visual appeal. You can use vanilla-flavored chocolate or skip this altogether for a more intense chocolate flavor.
How to Make Chocolate Candy Cane Bark
Now, let’s break down the steps for creating this delicious bark:
- Line a baking sheet with parchment paper, ensuring it covers the entire surface for easy removal.
- Melt the dark chocolate chips in a microwave-safe bowl. Heat in 30-second increments, stirring in between until smooth.
- Pour the melted chocolate onto the prepared baking sheet and spread it evenly using a spatula.
- Sprinkle the crushed candy canes over the melted chocolate, distributing them evenly for maximum flavor.
- Melt the white chocolate and drizzle it over the top of the bark for a festive touch. Allow the bark to cool and set completely.
- Once set, break the bark into pieces and enjoy this delightful holiday treat!
Tips for Success, Storage, and FAQs
Pro Tips
- Use high-quality chocolate: The better the chocolate, the richer the flavor of the bark.
- Control temperature: Avoid overheating the chocolate to prevent seizing. If it becomes grainy, you can add a small amount of vegetable oil to smooth it out.
- Experiment with flavors: Consider adding a splash of vanilla extract or a pinch of sea salt for a flavor boost.
- Keep it cool: Store the bark in a cool, dry place to prevent melting.
- Layering: For a fancier version, consider layering different types of chocolate for added depth.
- Presentation: Consider packaging the bark in festive boxes for gifting.
- Adjust candy cane size: Crush the candy canes into different sizes for a varied texture.
- Make ahead: This treat can be made a week in advance and stored properly.
Common Mistakes and Troubleshooting
- Chocolate seizing: If your chocolate becomes clumpy, it may have come into contact with water. Ensure all utensils and bowls are completely dry.
- Bark not setting: If the bark doesn’t harden, check if it was cooled at room temperature or in the fridge. Rapid cooling can sometimes cause issues.
- Candy cane melting: If the candy canes melt into the chocolate, try adding them just before the chocolate is fully set.
Variations of Chocolate Candy Cane Bark
Feel free to experiment with these variations to customize your bark:
- Nutty Delight: Add chopped pecans or walnuts for a crunchy texture.
- Fruit Fusion: Incorporate dried cranberries or cherries for a fruity twist.
- Spicy Kick: Add a dash of cayenne pepper or cinnamon to the chocolate for an unexpected heat.
- Festive Swirls: Use colored candy melts to create swirls in the chocolate before adding the candy canes.
Storage and Make-Ahead Instructions
To keep your Chocolate Candy Cane Bark fresh:
- Storage: Store in an airtight container at room temperature for up to two weeks. For longer storage, refrigerate or freeze.
- Make-ahead: You can prepare this bark up to a week in advance. Just ensure it’s sealed properly to maintain freshness.
Nutrition Tips and Dietary Adaptations
For those mindful of nutrition, consider the following adaptations:
- Dark chocolate: Opt for at least 70% cocoa content for health benefits and a richer flavor.
- Reduced sugar options: Look for sugar-free chocolate chips or natural sweeteners to cut down on sugar content.
- Allergen-friendly: Use dairy-free chocolate chips for a vegan option.
Equipment Recommendations
To make your candy cane bark experience smooth:
- Microwave-safe bowl: Essential for melting chocolate without burning it.
- Baking sheet: A standard size works best for even spreading of chocolate.
- Parchment paper: Crucial for easy removal and cleanup.
- Spatula: A silicone spatula helps in spreading the chocolate evenly.
Serving Suggestions
Here are a few delightful ways to serve your Chocolate Candy Cane Bark:
- Gifting: Wrap pieces in festive paper and give them as homemade gifts.
- Party trays: Arrange the bark on a holiday dessert table alongside cookies and other treats.
- Hot cocoa pairing: Serve with a warm cup of cocoa for the ultimate cozy experience.
Frequently Asked Questions (FAQs)
- Can I use white chocolate instead of dark? Absolutely! White chocolate will provide a sweeter flavor; just keep in mind the melting process can differ.
- How do I prevent the chocolate from separating? Ensure you’re melting the chocolate gently and thoroughly mixing the ingredients.
- What if I don’t have candy canes? You can substitute with hard peppermint candies or omit them entirely for a different flavor.
- Can I freeze chocolate bark? Yes, chocolate bark freezes well. Just ensure it’s stored in an airtight container.
- How long does the bark last? When stored properly at room temperature, it can last up to two weeks.
- Can I add other toppings? Certainly! Feel free to experiment with other toppings like sprinkles or sea salt.
- Is this recipe gluten-free? Yes! As long as your chocolate chips are gluten-free, this bark is safe for those with gluten intolerance.
- Can I make it vegan? Yes! Use dairy-free chocolate chips to accommodate a vegan diet.
In conclusion, Chocolate Candy Cane Bark is not just a festive treat; it’s an opportunity to explore the delicious intersection of flavor and science. By understanding the principles of chocolate melting, flavor pairing, and presentation, you can create a stunning and sweet addition to your holiday festivities. So grab your ingredients and let’s get cracking!

Chocolate Candy Cane Bark
Ingredients
Method
- Line a baking sheet with parchment paper.
- Melt dark chocolate in 30-second intervals until smooth.
- Pour and spread melted chocolate on the baking sheet.
- Sprinkle crushed candy canes over the chocolate.
- Melt white chocolate and drizzle over the top. Let cool until set.
- Break into pieces and enjoy!
Notes
Loved this recipe? Save it to your favorite Pinterest board so you can easily find it later! ✨