Imagine the aroma of freshly baked bread mingling with savory herbs, filling your kitchen with warmth and anticipation. This Perfectly Fluffy Homemade Stuffing recipe is not just a side dish; it’s an invitation to create a memory, a centerpiece that brings family and friends together around the table. Whether you’re celebrating a cherished holiday or a casual gathering, this stuffing is designed to impress and elevate every meal. In this comprehensive guide, we will explore not only how to craft this beautiful dish but also the ‘why’ behind each ingredient and step, transforming your kitchen into a culinary studio.
Why You’ll Love This Recipe
Perfectly Fluffy Homemade Stuffing is more than just a recipe; it’s an experience. Here are five compelling reasons to embrace this dish:
- Comforting Tradition: This stuffing encapsulates the essence of home and the nostalgia of family gatherings, making it a must-have on any holiday table.
- Customizable Flavor: With a variety of herbs and ingredients, you can adapt the stuffing to your tastes, ensuring every bite is uniquely yours.
- Easy to Prepare: Despite its gourmet appearance, this recipe is straightforward, making it accessible for cooks of all levels.
- Make-Ahead Friendly: Prepare your stuffing in advance to save time on the big day, allowing you to enjoy the company of your loved ones.
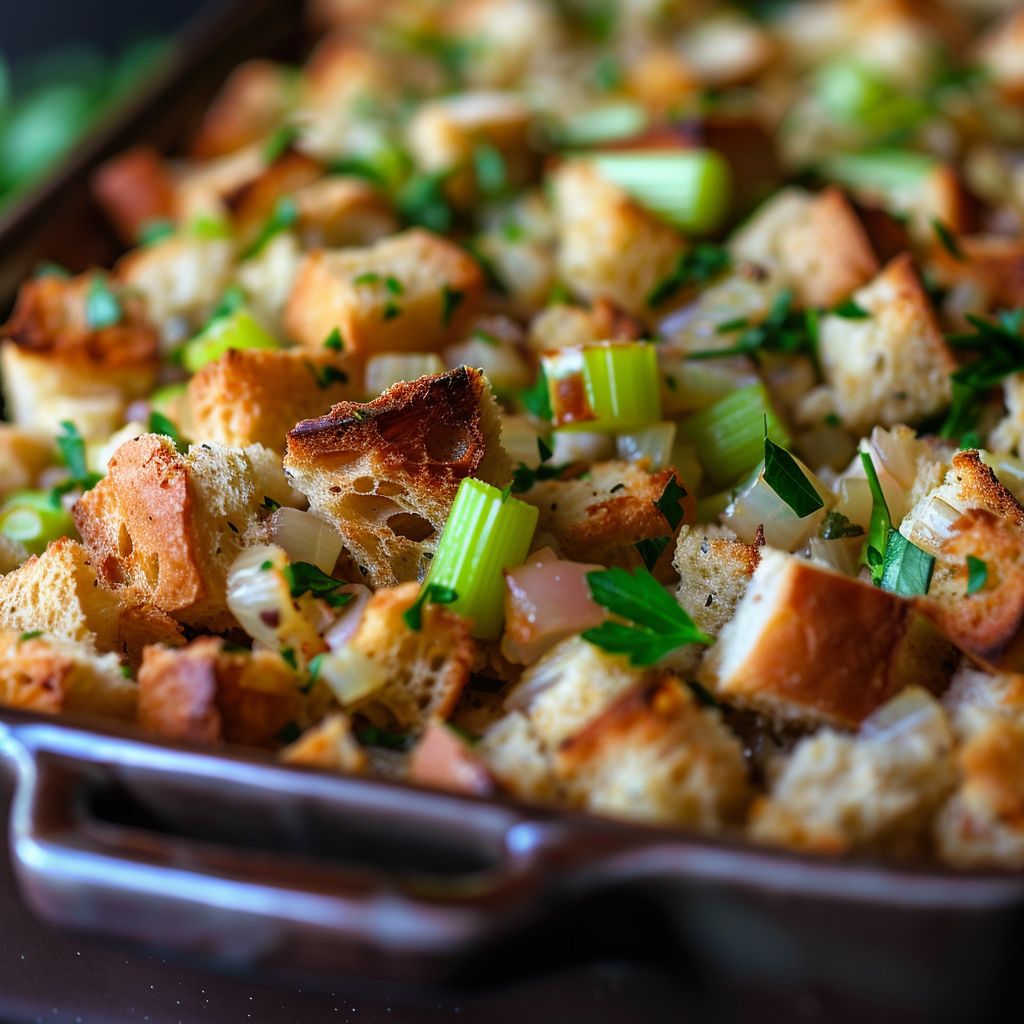
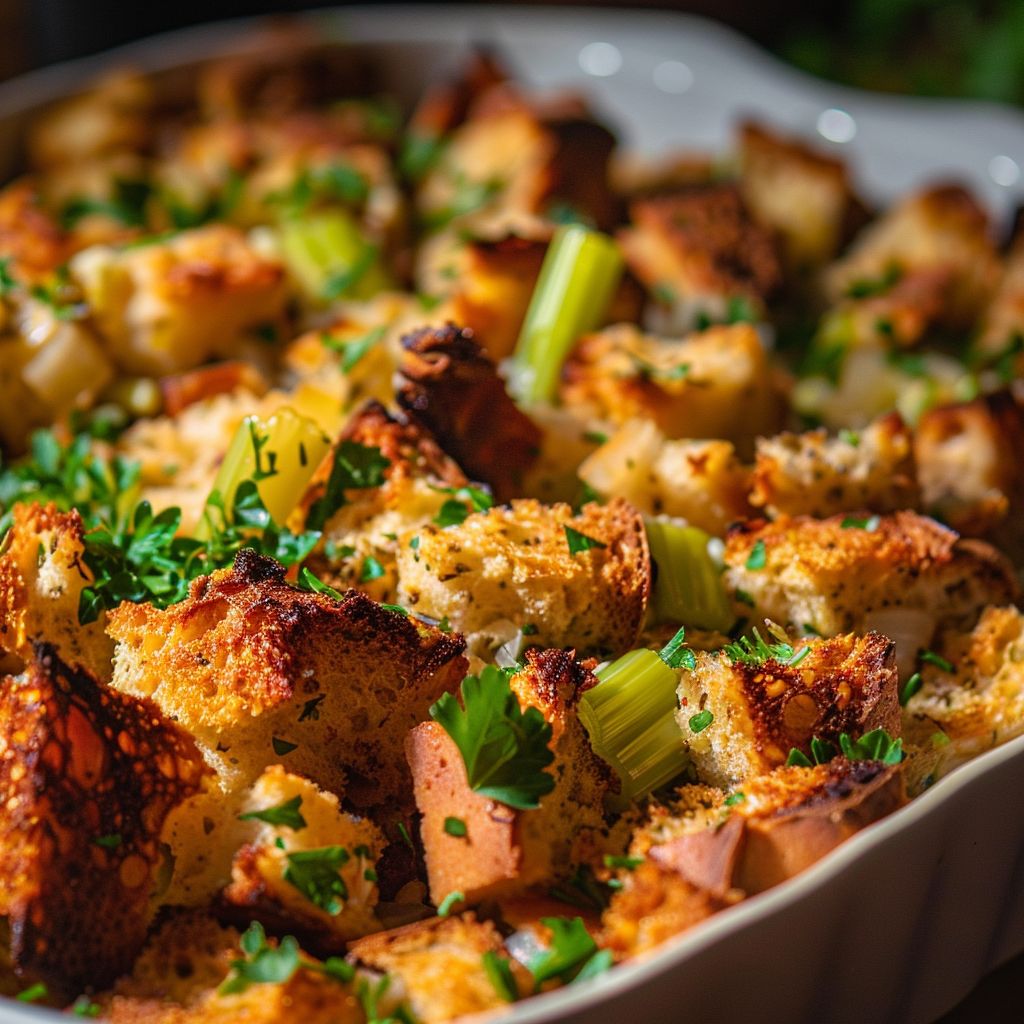
- Visual and Culinary Impact: The golden-brown crust and vibrant herbs create a visually stunning dish that looks as good as it tastes.
Diving Into the Ingredients
To achieve the perfect stuffing, selecting the right ingredients is crucial. Here’s a detailed breakdown of what you need, along with some substitutions to tailor it to your needs:
- Day-Old Bread: Use 1 loaf of day-old bread, cubed. If you don’t have day-old bread, you can dry fresh bread cubes in the oven for 10 minutes at 350°F (175°C).
- Unsalted Butter: 1 cup adds richness; you can substitute with olive oil for a dairy-free version.
- Onion and Celery: 1 medium onion and 2 celery stalks, chopped, create a flavor base. Leeks or shallots can also be good substitutes.
- Broth: 2 cups of chicken or vegetable broth provide moisture. Feel free to use homemade broth for an extra depth of flavor.
- Herbs: 1 tablespoon each of dried sage and thyme are essential for that classic stuffing flavor. Fresh herbs can be used as well, just double the amount.
- Eggs: 2 large eggs, beaten, act as a binder. For a vegan option, use a flaxseed or chia seed mixture.
- Fresh Parsley: 1 cup, chopped, adds brightness. You can also incorporate other fresh herbs like rosemary or dill for a twist.
How to Make the Perfect Fluffy Stuffing
Creating this stuffing is a fulfilling process that allows you to engage with each ingredient. Here’s a step-by-step guide:
- Preheat the oven to 350°F (175°C).
- Toast the Bread: Spread the cubed bread on a baking sheet and toast in the oven for about 10 minutes, until lightly golden.
- Sauté Aromatics: In a large skillet, melt the butter over medium heat. Add the chopped onion and celery, cooking until softened, about 5-7 minutes.
- Mix Ingredients: In a large bowl, combine the toasted bread cubes, sautéed onion and celery, broth, sage, thyme, salt, and pepper. Mix well.
- Add Eggs and Parsley: Stir in the beaten eggs and chopped parsley, ensuring everything is evenly combined.
- Transfer to Baking Dish: Pour the stuffing mixture into a greased baking dish, covering it with foil.
- Bake: Bake for 30 minutes covered, then remove the foil and bake for an additional 15-20 minutes, until the top is golden and crispy.
- Serve: Remove from the oven and let it sit for a few minutes before serving to allow flavors to meld.
Pro Tips for Perfect Stuffing
Elevate your stuffing game with these expert insights:
- Texture Check: Ensure your bread is dry enough to absorb flavors without turning mushy. Stale or toasted bread is ideal.
- Seasoning Balance: Taste your broth beforehand; if it’s salty, adjust the salt in your stuffing accordingly.
- Moisture Adjustment: If your stuffing looks dry before baking, add a little more broth until it’s just moist.
- Add-Ins: Consider enhancing your stuffing with sautéed mushrooms, cooked sausage, or chopped apples for a sweet twist.
- Fresh Herbs: Use fresh herbs when possible; they add a vibrant flavor that dried herbs can’t match.
- Layering Flavors: For deeper flavor, consider adding a splash of white wine to the sautéed vegetables.
- Resting Period: Let the stuffing rest for 10 minutes after baking for optimal texture.
- Serving Suggestions: Pair your stuffing with roasted meats, vegetarian sides, or a light salad to balance the richness.
Avoiding Common Mistakes
Even the best cooks can make mistakes. Here are some common pitfalls and how to avoid them:
- Over-Moistening: Too much broth can lead to a soggy stuffing. Start with less and add as needed.
- Undercooking: Ensure the stuffing reaches an internal temperature of 165°F (74°C) for food safety.
- Skipping the Toasting Step: Toasting bread is crucial for achieving the desired texture. Don’t skip this step!
- Using Fresh Bread: Fresh bread can lead to a dense stuffing. Always opt for stale or toasted bread.
- Narrow Flavor Profile: Don’t be afraid to experiment with spices and add-ins to create a more complex flavor.
Variations on the Classic Stuffing
Add a personal touch to your stuffing with these delightful variations:
- Sausage Stuffing: Add cooked sausage for a hearty, meaty flavor. Aim for about a pound, crumbled and cooked.
- Vegetable Medley: Incorporate roasted vegetables like carrots, parsnips, or bell peppers for added sweetness and texture.
- Fruit & Nut Stuffing: Mix in dried cranberries, apples, or walnuts for a sweet and crunchy contrast.
- Herbed Cornbread Stuffing: Use cornbread instead of traditional bread for a Southern twist, adding sage and thyme to enhance the flavor.
Make-Ahead and Storage Instructions
Planning ahead can make your holiday cooking seamless. Here’s how to prepare and store your stuffing:
- Make-Ahead: Prepare your stuffing up to a day in advance. Just cover and refrigerate before baking.
- Freezing: You can freeze uncooked stuffing for up to 2 months. Thaw in the refrigerator before baking.
- Storage: Store any leftover stuffing in an airtight container in the refrigerator for up to 4 days. Reheat in the oven for the best texture.
Nutritional Insights and Dietary Adaptations
This stuffing can cater to various dietary needs:
- Low-Carb Option: Substitute bread with cauliflower rice for a low-carb alternative.
- Gluten-Free: Use gluten-free bread and ensure your broth is also gluten-free.
- Dairy-Free: Replace butter with coconut oil or a dairy-free margarine.
- Vegan: Use flax eggs and vegetable broth to make it completely plant-based.
Essential Equipment for Success
To make the process smoother, here’s a list of essential tools:
- Large Mixing Bowl: For combining all ingredients thoroughly.
- Baking Dish: A 9×13 inch dish works perfectly for baking your stuffing.
- Skillet: A large skillet is necessary for sautéing your vegetables.
- Measuring Cups and Spoons: For accurate ingredient measurements.
Frequently Asked Questions
Here are some common queries about making homemade stuffing:
- Can I use fresh herbs instead of dried? Yes, just double the amount for a fresh flavor boost.
- How do I know when my stuffing is done? It should be golden brown on top and reach an internal temperature of 165°F (74°C).
- Can I prepare stuffing without eggs? Absolutely! Use a flaxseed mixture as a binder instead.
- What type of bread works best? Day-old bread is ideal, but you can also use sourdough or any hearty loaf.
- How long can I store leftover stuffing? In an airtight container, it can last for up to 4 days in the refrigerator.
- Can I freeze stuffing? Yes, freeze it before baking for up to 2 months.
- What should I serve with stuffing? It pairs beautifully with roast turkey, chicken, or even vegetarian dishes.
- Is stuffing safe to cook inside the turkey? It’s safer to bake it separately to ensure even cooking.
Creating the Perfectly Fluffy Homemade Stuffing is not just about following a recipe; it’s about embracing the joy of cooking and sharing that joy with others. As you craft this beautiful dish, remember that every ingredient tells a story, every step is a part of the journey, and every bite is a moment to cherish. So gather your loved ones, let the kitchen fill with laughter, and serve a dish that is truly share-worthy!

Perfectly Fluffy Homemade Stuffing 🥖
Ingredients
Method
- Preheat oven to 350°F (175°C). Toast bread cubes for 10 minutes.
- Melt butter in a skillet, cook onion and celery until softened.
- Mix toasted bread, sautéed vegetables, broth, sage, thyme, salt, and pepper.
- Add eggs and parsley, combine well, transfer to baking dish, cover with foil.
- Bake covered for 30 minutes, then uncover and bake 15-20 minutes until golden.
Notes
Loved this recipe? Save it to your favorite Pinterest board so you can easily find it later! ✨